

I finally got around to making another wire wrapped ring, and took pictures this time for a tutorial. I used a cheap faux pearl, but you can get real pearl beads, and nice faux crystals at most craft stores.

The supplies that you will need are:
scrap paper
single bead
20 gauge wire
26 gauge wire
large pliers
small pliers
pen / pencil
 First you will need to use a mandrel, or find something the same size as your finger. I walked around the house trying my wedding band on different things until I found a marker the exact right size. Next, I cut a strip of paper and wrapped it around my marker [hereafter known as the "mandrel".] I slid the edges of the paper so that you would be able to clearly see how it was wrapped, but you really want it to be tighter.
Wrap the paper around the mandrel two times, drawing a line each time the paper overlaps. Remove the paper, and cut it off at the second line. You should have a strip of paper that is twice the length of your finger, with a line in the middle.
 Fold the ends of the paper into the middle, then flatten it back out. Draw lines on the two creases that you just made. These will be the marks that you need, you can erase the middle line or just ignore it. (I used some junk mail, hence the strange numbers.)
Use the paper as your ruler to cut the 20 gauge wire. You will need two pieces of wire. Use a permanent marker and mark the two outer lines on the wire.

Use your pliers and bend the wires at a 90* angle on both lines.
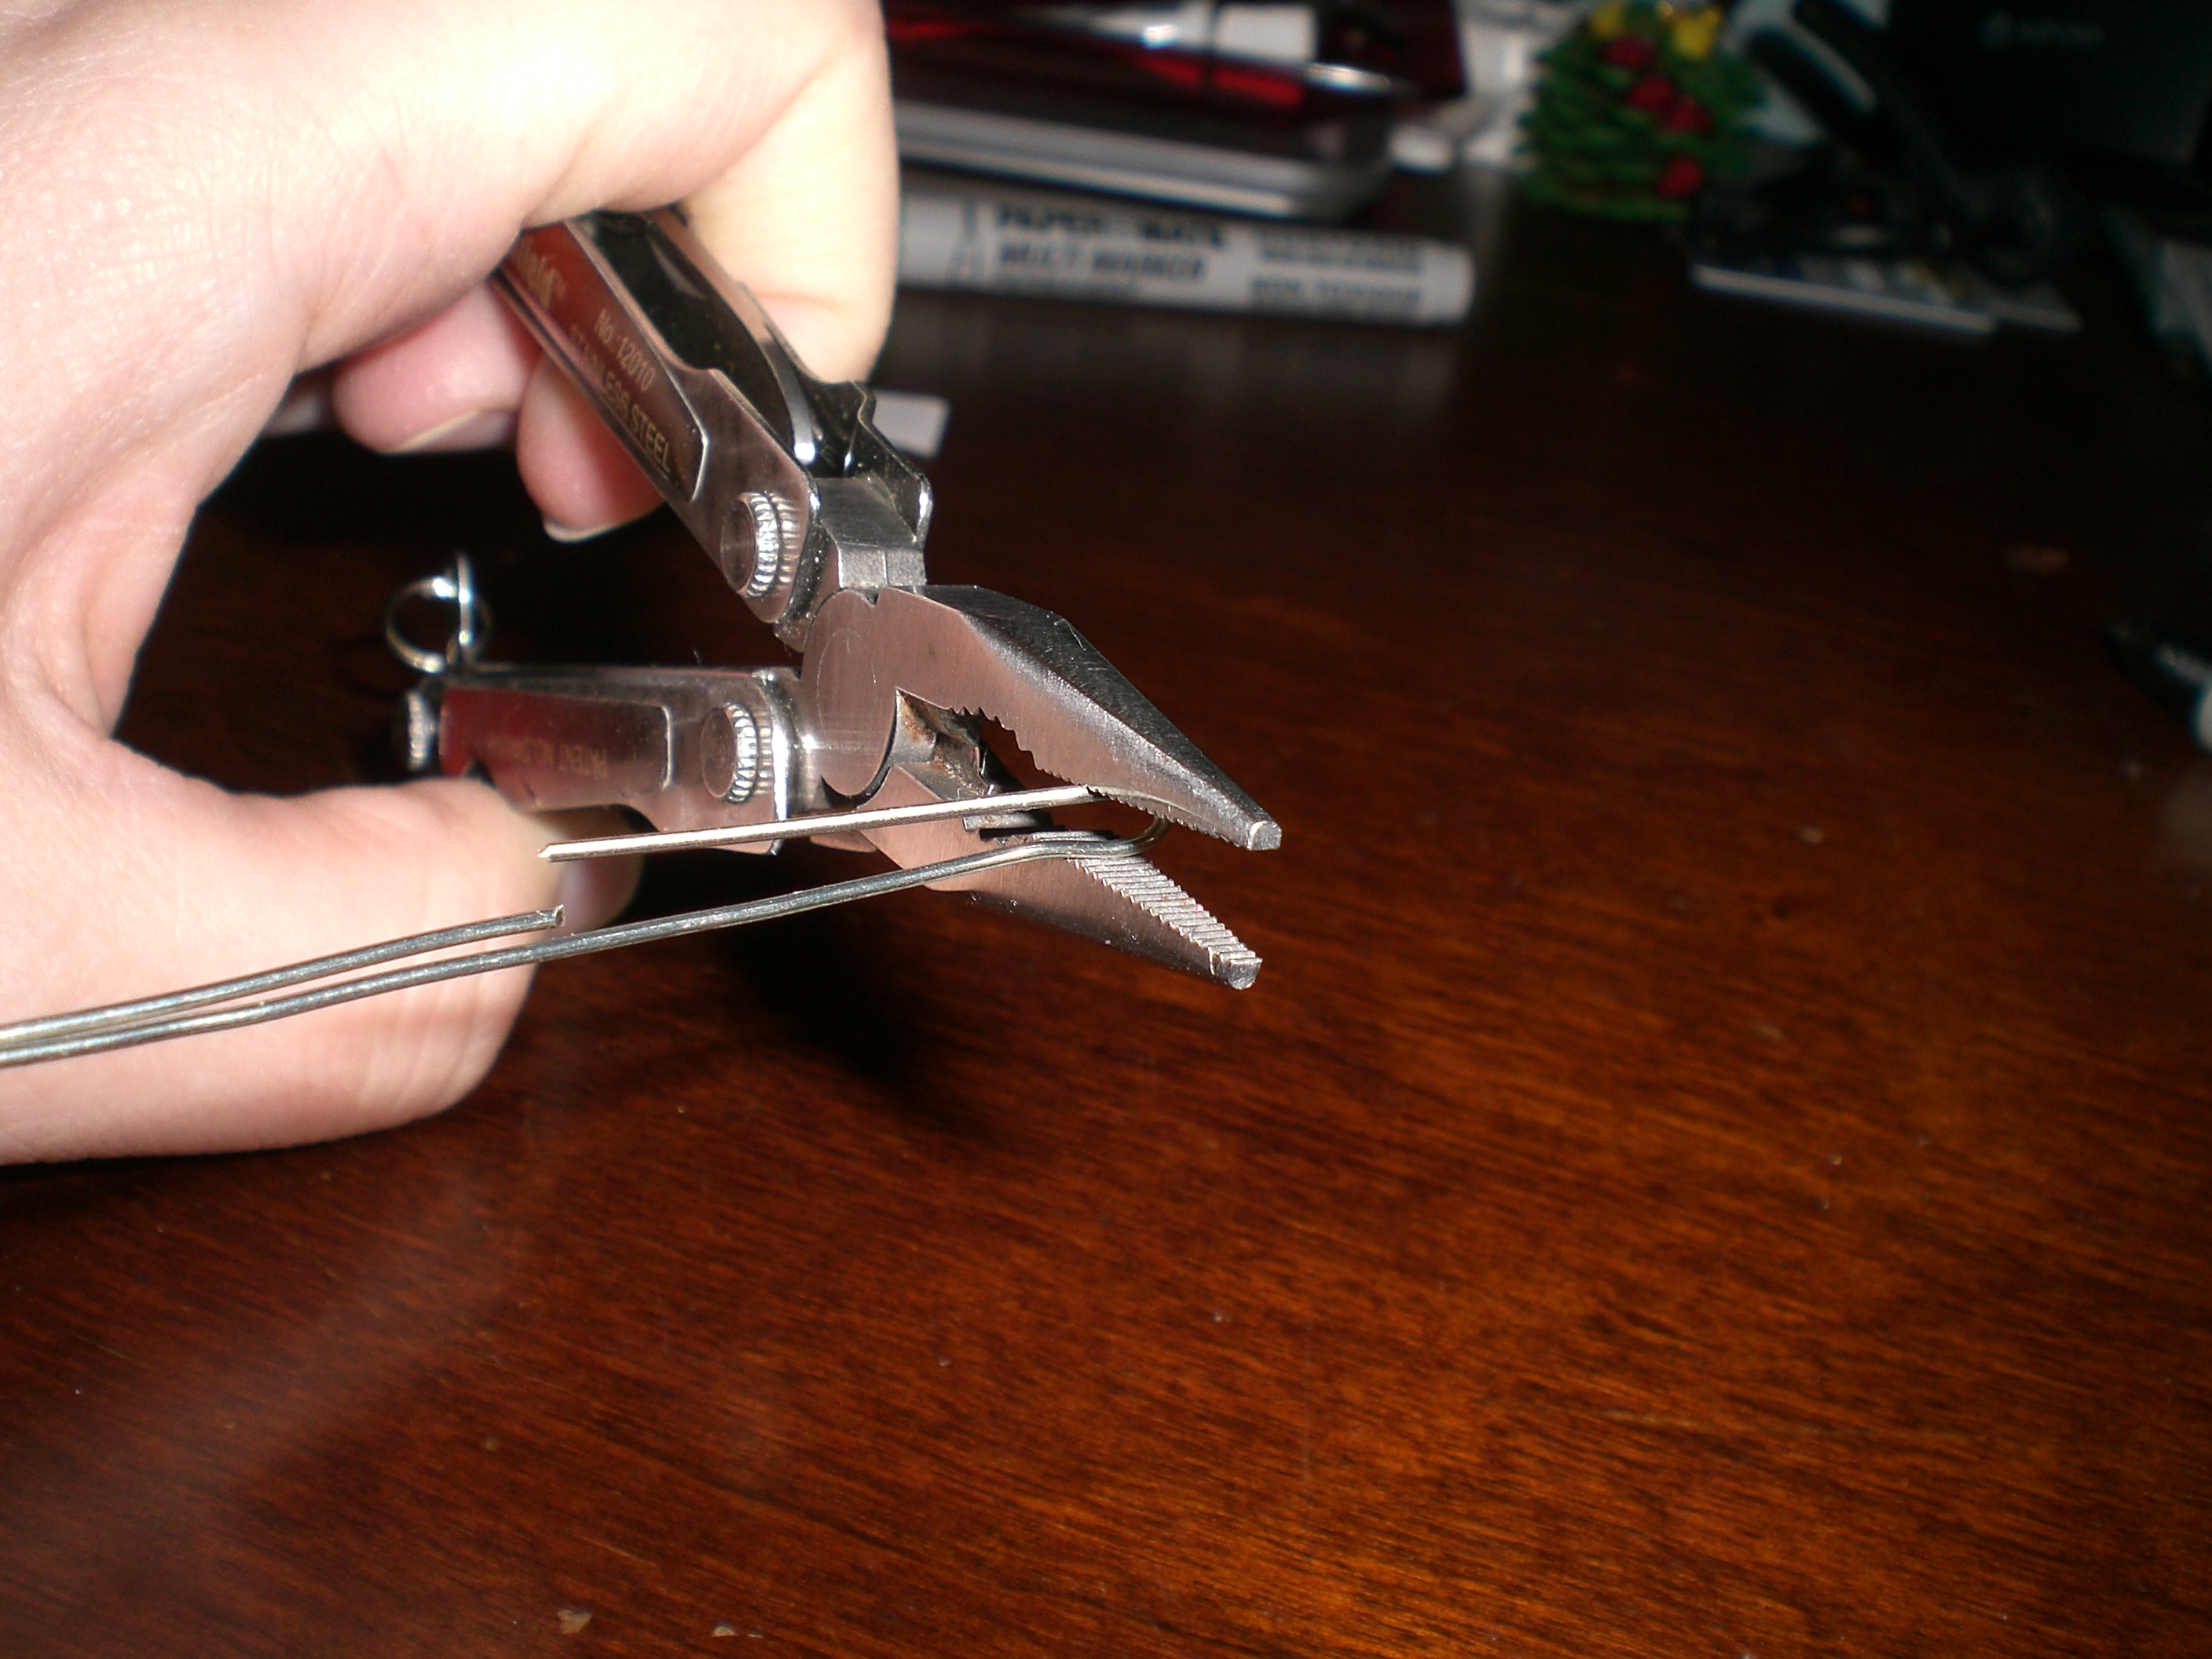 Flatten the folds with your pliers so that the two ends meet in the middle (like your paper did.) At this point I lightly hammered the wires to strengthen them, (totally optional.)
 Lay the two wires side by side on your mandrel, and smooth into a ring. Make sure that the cut wires are on the inside.
 Use your pliers to bend the ends up at an angle, to form the faux prongs of your ring.
 Cut off a four inch or so piece of 20 gauge wire. Bend it with your pliers, and then wrap it around the top of the ring three times. It took me a few tries to grip the wire and wrap it around.
 After the top is wrapped three times, add the pearl and repeat on the other side.
 Use the 26 gauge wire and wrap the bottom of the band were the wires cross. Make sure that all of the ends are cut flush and filed smooth. Enjoy!


