These cute little cake balls are fairly simple to make, if time consuming. You are supposed to use a cake mix and canned frosting, but, by the time you measure out the eggs and oil I figure you may as well make your cake from scratch. And I can't eat canned icing - too much soybean oil. I know, my color choose is, um, interesting to say the least. I utterly detest football, but I am bringing these to a football party, so I went with the team colors. Which is very unusual for me, but it made more sense than the baby blue and white that I also had. Read on for the recipe and directions.
I Moved
This blog has moved to http://randomcreativity.net :-)
Showing posts with label step by step photos. Show all posts
Wednesday, September 8, 2010
Cake Balls from scratch
These cute little cake balls are fairly simple to make, if time consuming. You are supposed to use a cake mix and canned frosting, but, by the time you measure out the eggs and oil I figure you may as well make your cake from scratch. And I can't eat canned icing - too much soybean oil. I know, my color choose is, um, interesting to say the least. I utterly detest football, but I am bringing these to a football party, so I went with the team colors. Which is very unusual for me, but it made more sense than the baby blue and white that I also had. Read on for the recipe and directions.
Monday, August 16, 2010
How to: Necktie into bowtie
Thursday, June 3, 2010
50 cent clock make over
My sister from Florida came to spend a week with me - yay! Of course, we had to visit the second hand stores while she was here, and I found four of these Ambien clocks, new in the package with batteries, for 0.50 each. Cheap clocks are incredibly easy to redo, so I thought I'd share :0)
First, turn over the clock and look for a tab slot - most clock faces are held on by three little tabs. One tab may be longer than the others, so leave that tab for last. Flip the clock back over, and slide a flat head screwdriver or knife down between the face and the slot, gently popping the tab out. After you do two of the three tabs, the clear shell should just lift off.
The hands should just be pressed onto a movement, carefully pull them straight up. You may need to use a knife or screwdriver to help loosen them - be very careful not to bend the hands. Set them aside.
Remove the paper clock face, and set it aside. Now, you have several options. You can design your own clock face, use a photo, scrapbook paper, old magazine, etc, or paint over the existing clock face. I found several scrapbook papers that I liked, and printed a clock face onto them. I cut them out, used my crop-a-dile to punch out the middle hole, and stuck them on the clocks. Quick, and really cute.
Here is the blank clock face that I designed to fit my clocks (9" across, I printed on a 12"x12" paper since it wouldn't fit on a standard 8.5"x11" sheet.) You could open this file in a photo - editing software and insert a photo as the background. OR, you could design something, or use free clip art, etc as the background. You could also use plain white paper, like my husband suggested - blah, too plain for my tastes ;0)
Once you have the paper attached, slip the hands back onto the movement, and snap the cover back in place. You are done! Here is the finished clock - how cute would that be in a girl's room?
You can also paint the clock if you don't like the color - neon pink won't really do for what I needed these clocks for, so I pulled out a few cans of spray paint. You could use a brush on paint for plastic as well.
After two coats, my clocks and hands looked good, so I left it at that. Here are the four clocks that I redid:
So, for $2.00 and some stuff I already had, I have four decent looking clocks. The green and white is my favorite. And, as easy as this is to do, you could really change out the paper seasonally if you really wanted to.
Wednesday, March 31, 2010
Upcycled sundress for my adorable niece and iron on tag tutorial
My mother in law gave me the bedspread that she had as a young girl (with permission to chop it up for crafty cuteness.) It was adorable! And it had the cutest little ruffled bottom. I don't have any little girls but I am seeing my niece in a few weeks so I decided to make her a sundress with the ruffles at the bottom. I used the pattern at SnazzleCraft (it required a bit of playing with to get it to print right.) As I don't have a little girl (and my favorite color is blue,) I don't have any pink ribbon or thread, but the green matched all of the flower stems so it worked out. I used snaps instead of buttons, and placed them in the back, so that my niece won't be able to undress herself.
I love making cute things, and I like to put tags in them. Why? I don't know. But I do. :0) So here's how I did it, just in case you want to make some too.
You will need the following supplies:
- small amount of screen printing ink/paint or soft fabric paint (not the tulip puffy kind)
- alphabet stamps (I got these out of the dollar bin at Michael's last year) or custom stamp
- freezer paper
- scrap of paper to use as spread
- ribbon or fabric scraps
- iron and cloth
- heat n bond scraps
Squirt a small amount of ink onto your freezer paper.
- Spread the ink out into a thin layer using your scrap paper (I doubled my scrap for a sturdier spreader.)
- Use the ink like an ink pad, working quickly since the screen printing ink dries quickly. Respread the ink as needed.
- Let the ink dry and set as per package directions. I let it dry overnight and ironed the next morning to set the ink.
Cut a small strip of heat n bond and iron onto the back of your ribbon. I like to trim the stragglers off after applying the heat and bond, so that it seals the ends.
- Peel off the paper backing and iron onto your items.
You could also sew the tags in, or have them stick out the sides like a flag. You can use acrylic paint to make tags that won't be laundered often, I prefer to use a fabric paint myself. This is a good use for scraps of ribbon, and small bits of heat and bond. (It is also why I never throw anything away and have piles of junk filling up my bedroom...maybe you shouldn't save those little scraps after all.)
Thursday, January 14, 2010
Pearl ring tutorial
I finally got around to making another wire wrapped ring, and took pictures this time for a tutorial. I used a cheap faux pearl, but you can get real pearl beads, and nice faux crystals at most craft stores.
The supplies that you will need are:
scrap paper
single bead
20 gauge wire
26 gauge wire
large pliers
small pliers
pen / pencil
Wrap the paper around the mandrel two times, drawing a line each time the paper overlaps. Remove the paper, and cut it off at the second line. You should have a strip of paper that is twice the length of your finger, with a line in the middle.
Use the paper as your ruler to cut the 20 gauge wire. You will need two pieces of wire. Use a permanent marker and mark the two outer lines on the wire.
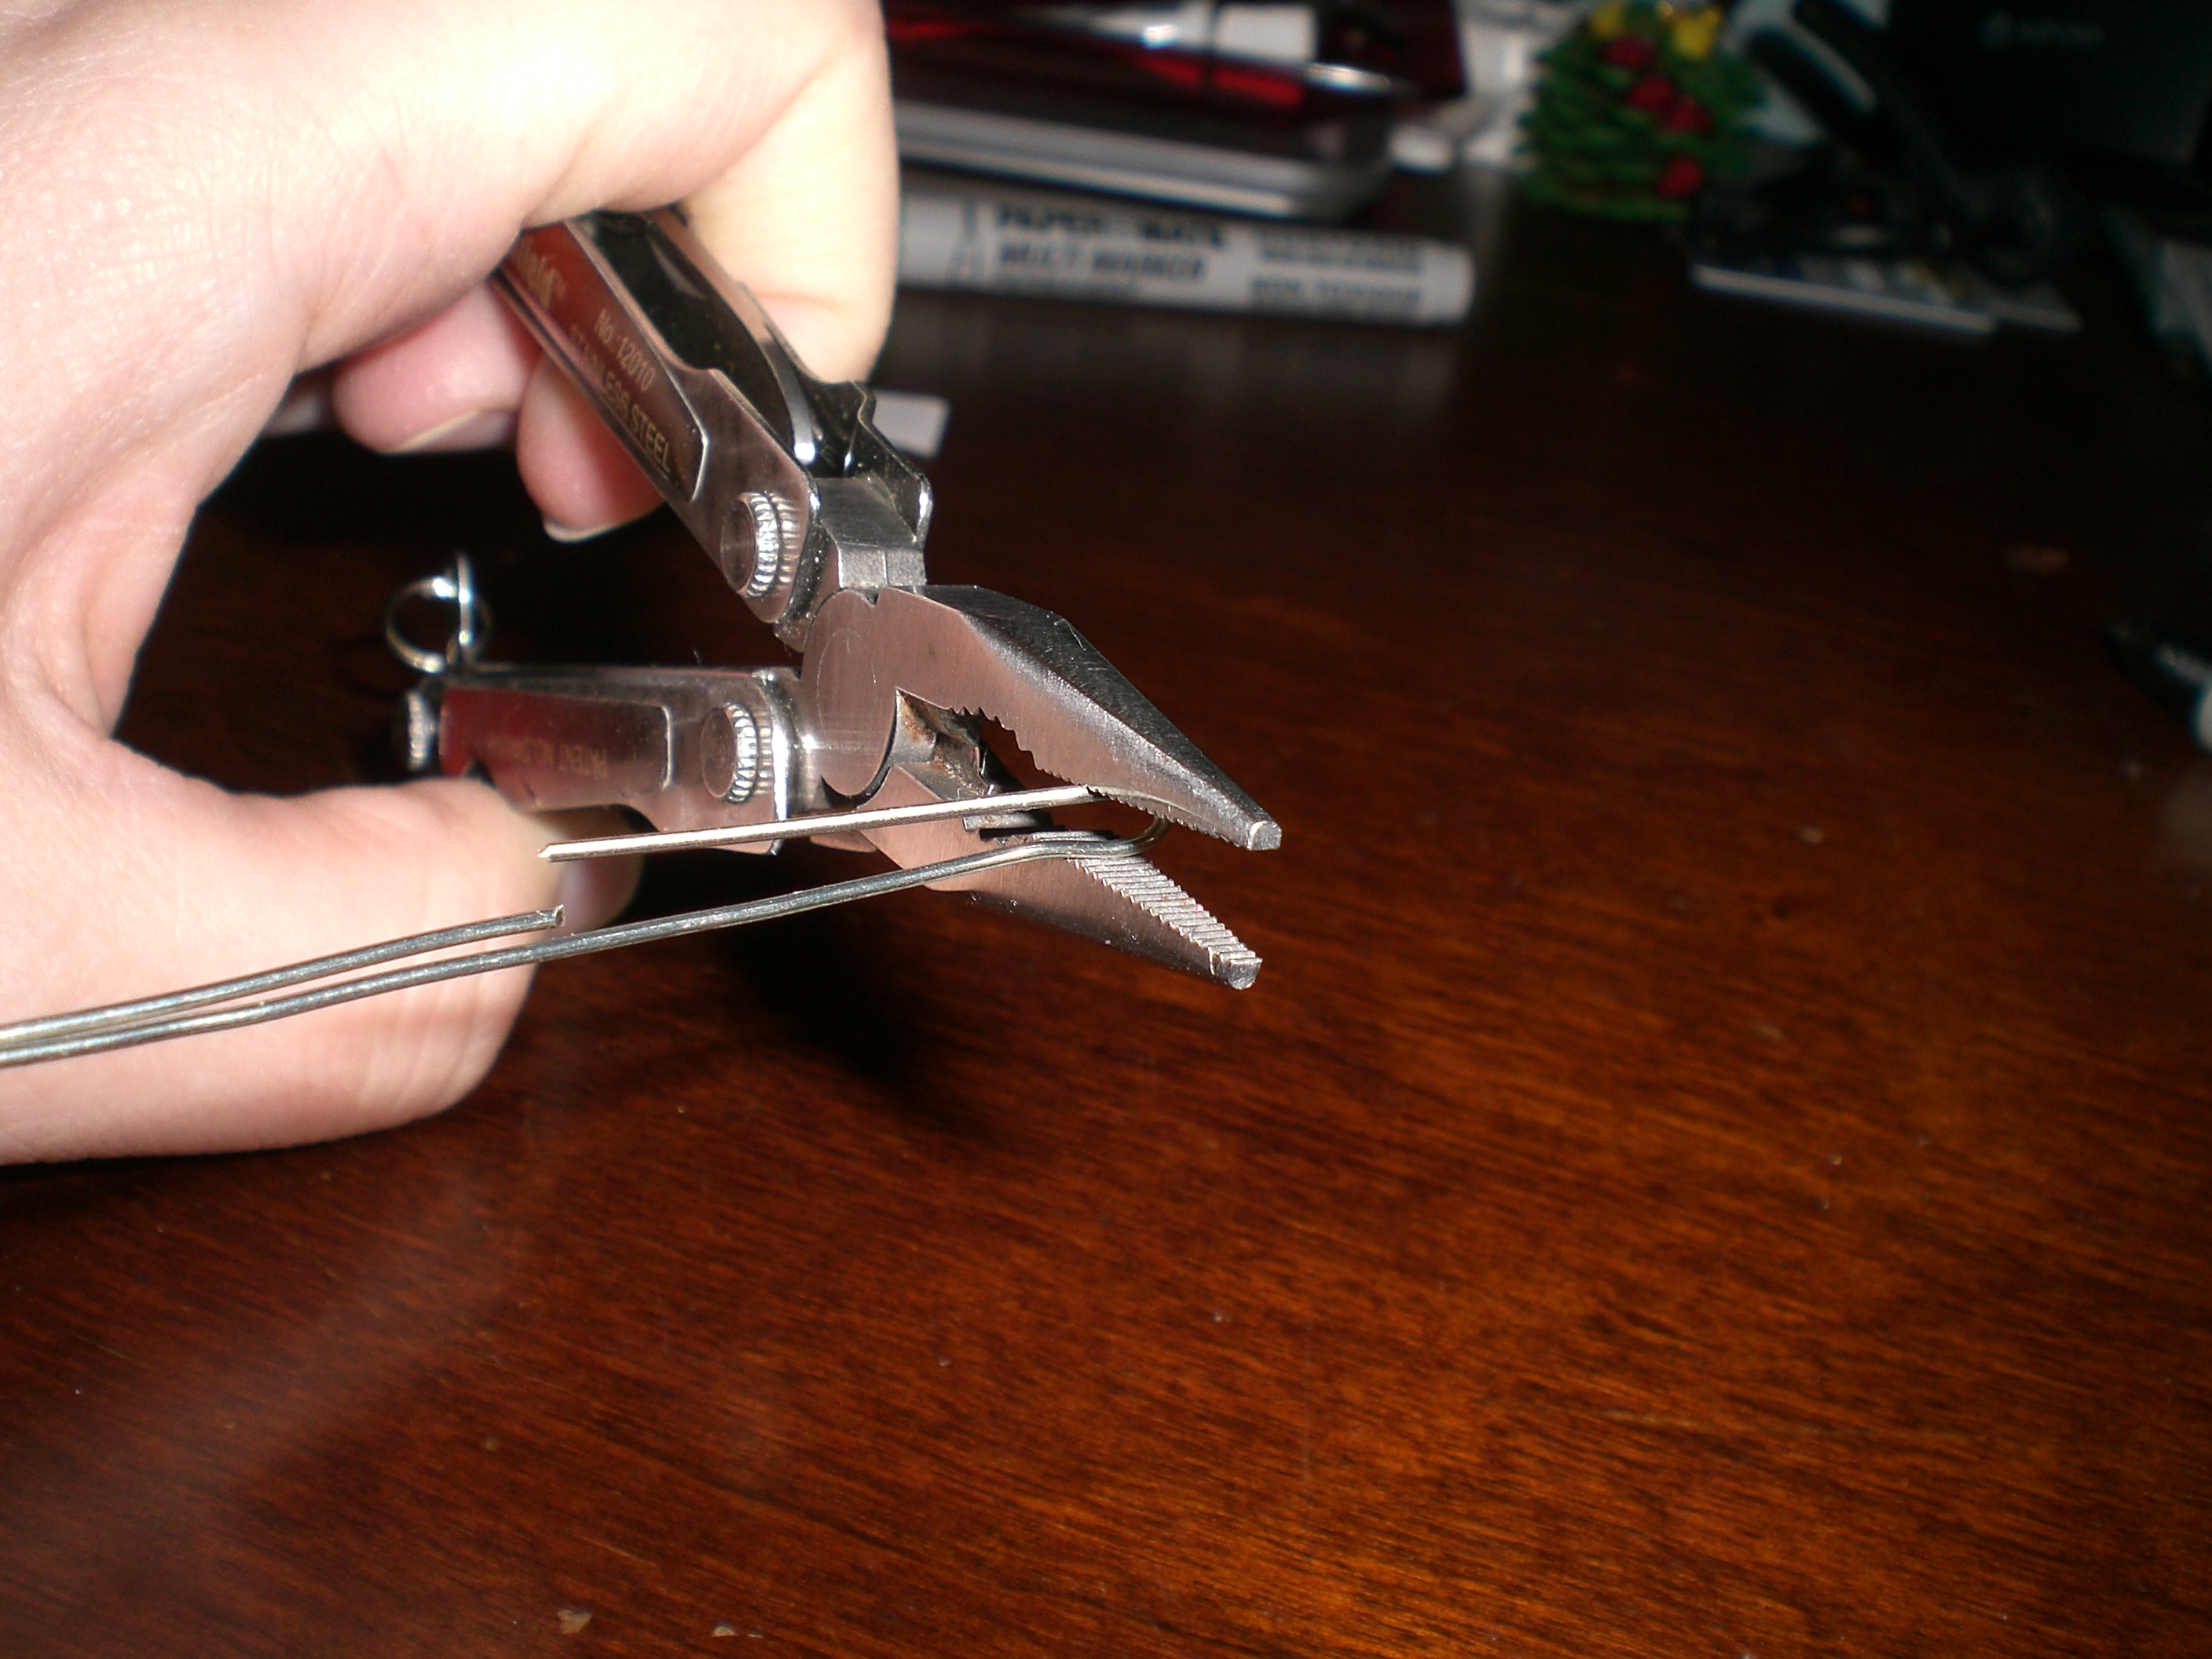
Use your pliers and bend the wires at a 90* angle on both lines.
Subscribe to:
Posts (Atom)